Learn how to add textures and patterns to polymer clay earrings using simple tools and creative ideas. From stamping and etching to faux finishes and paint accents, this beginner-friendly guide helps you bring depth, movement, and personality to your pieces — no fancy studio required.
Skill Level: Beginner
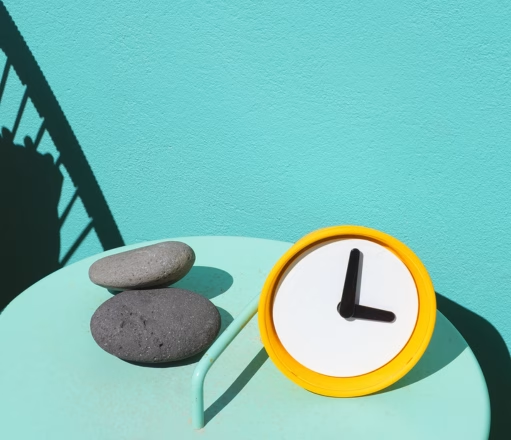
Time Required: 1–2 hours
Perfect For: Makers, jewelry lovers, and anyone who can’t resist experimenting with their hands.
Once your colors are mixed and shapes are cut, this is where things start to get really fun — adding texture and pattern.
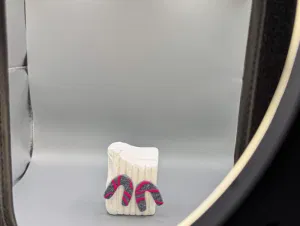
I love this part because it’s pure play. There’s no right way to do it, no checklist, no “perfect tool.” You just start pressing, rolling, scratching — and somehow, it all comes to life. A leaf you found on your walk? Try it. That old button in your sewing box? Press it in. Polymer clay doesn’t need permission. It remembers every tiny detail you give it, and that’s what makes it so magical.
Okay, that was my quick intro to the topic. To help you understand better and try it yourself (just like you see on some of our Blueberry Bloom earrings), here are detailed tips and guides so you can do it, too.
- Why Texture and Pattern Matter in Polymer Clay Jewelry
- How to Add Texture to Polymer Clay
- How to Add Patterns to Polymer Clay Earrings
- 1. Mokume Gane
- 2. Sgraffito
- 3. Cane Building
- 4. Paint + Texture Highlighting
- 5. Faux Surface Effects
- Texture Tools You Already Own
- Quick Tips for Texture Success
- What Comes Next? Sanding, Polishing, and Sealing
- Want More Clay Design Tips?
- FAQ: Adding Texture to Polymer Clay
- Inspiration Everywhere
- Ready to Fall in Love with Your Next Favorite Pair?
- Quick Recap
Why Texture and Pattern Matter in Polymer Clay Jewelry
Texture is what turns something nice into something unforgettable. It gives your clay that little spark of realism — a shadow that catches the light just right, a tiny groove that feels made by hand (because it was). Smooth pieces are lovely, but textured ones? They’re alive.
You don’t need professional tools or experience — just curiosity, a few scraps, and a willingness to see what happens.
How to Add Texture to Polymer Clay
There are so many ways to give your clay dimension. You can press, carve, stamp, roll, scratch — whatever feels natural.
1. Stamping
Use stamps or textured fabrics like lace, burlap, or even bubble wrap. Press gently, not too deep, and pull back slowly. You’ll get those crisp little patterns that make every piece look more refined.
(Tip: Dust the stamp with cornstarch first so it won’t stick.)
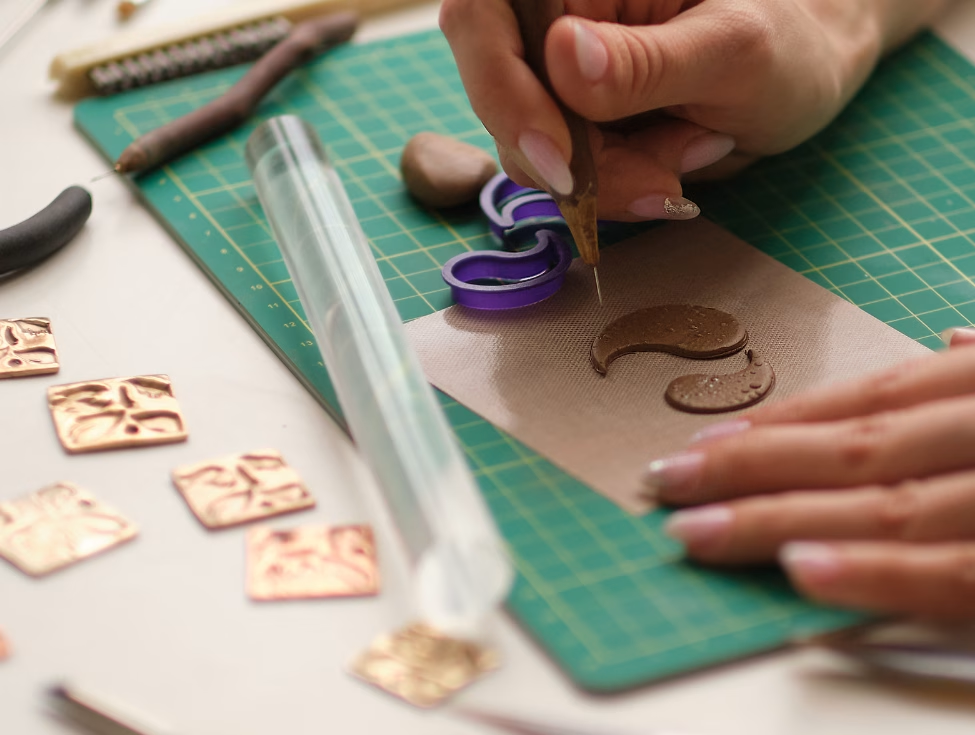
2. Etching
Grab a needle tool, toothpick, or pin and draw right into your clay. Lines, dots, little florals — whatever feels right. It’s especially pretty on solid colors or layered tones.
Etching looks delicate, but don’t overthink it — even a few random scratches can make your design feel hand-drawn.
3. Rolling Textures
Take your acrylic roller or glass bottle, wrap it in something textured — fabric, mesh, foil — then roll gently across your clay. It’s quick and gives you beautiful coverage in seconds.
Try changing direction as you roll. You’ll get overlapping patterns that almost look woven.
4. Impressing Everyday Objects
PMy favorite trick: raid your kitchen drawer. Buttons, shells, coins, tiny screws — anything with texture works. Press it in lightly and see what happens.
The best part? Every mark tells a story. A coin’s edge, a broken shell, even a fork tine — they all add character.
5. Sandpaper Finish
Just press it in gently before baking. Later, you can enhance it even more during the sanding and sealing step.This one’s subtle but lovely. Press a piece of fine-grit sandpaper onto your clay to give it a soft, matte texture. Perfect for modern, minimalist pieces or background surfaces.Just press it in gently before baking. Later, you can enhance it even more during the sanding and sealing step.
Exploring different ways to add texture can open up a whole new level of creativity. A quick look at how clay rollers can create beautiful, detailed textures shows just how simple tools can make a big impact. Watching the process helps you see how small changes in technique can make a big difference.
How to Add Patterns to Polymer Clay Earrings
Now let’s move beyond texture — into actual pattern design.
1. Mokume Gane
This sounds fancy, but it’s just layers of clay stacked, pressed, and sliced to reveal marbled patterns inside. The colors shift like waves — completely unique every time.
2. Sgraffito
Lay one color over another, then scratch through the top layer to reveal what’s underneath. It’s perfect for floral details or line drawings. The imperfections make it beautiful.
3. Cane Building
Stack, roll, and slice. It’s like making a mini log of colors — when you cut it open, a pattern appears. Flowers, spirals, checkerboards — endless possibilities.
4. Paint + Texture Highlighting
Once baked and cooled, brush a bit of acrylic paint over the surface, then wipe it back. The paint sticks in the grooves, making your pattern pop. Gold and metallic shades look stunning here.
5. Faux Surface Effects
You can mimic almost anything — marble, wood, granite, leather — just by layering colors and adding light texture. Once sealed, it looks surprisingly realistic.
Creating bold patterns with polymer clay is all about layering colors and playing with shapes. Tutorials can guide you through techniques like Mokume Gane or cane patterns, showing each step clearly. It’s really fascinating to see how these patterns come together.
Texture Tools You Already Own
No fancy equipment needed. Look around — you already have everything.
- Toothpicks: For dots, lines, and tiny details
- Leaves: Nature’s original texture stamps
- Fabric: Lace, mesh, or even old jeans
- Kitchen tools: Forks, strainers, butter knives
- Hardware: Bolts, screws, washers
Once you start noticing textures, you won’t stop. I’ve used the side of a pen, a zipper, a rock from the park — anything goes.
Quick Tips for Texture Success
- Warm up your clay — cold clay cracks under pressure.
- Always test your texture on a scrap piece first.
- Apply pressure evenly; don’t rush it.
- Combine techniques — stamp, then etch over it.
- Be gentle when baking — textured areas can bake faster.
What Comes Next? Sanding, Polishing, and Sealing
After baking, your piece will look great — but finishing makes it shine. Sand the edges smooth and seal with resin or varnish. It deepens color and protects your hard work.
Head here next:
How to Sand and Polish Polymer Clay Earrings for a Smooth Finish
Want More Clay Design Tips?
- How to Make Polymer Clay Earrings: A Beginner’s Guide
- Tips for Mixing Colors in Polymer Clay Jewelry
- Attaching Earring Posts That Stay Put
- How to Add Gloss with Resin (The Final Touch)
FAQ: Adding Texture to Polymer Clay
Q: How do you add posts to polymer clay earrings?
A: Use strong two-part epoxy after baking. Lightly sand the clay where you’ll glue to help the post adhere.
Q: How do you add glitter to polymer clay?
A: Mix it right into your conditioned clay before shaping, or dust the surface and seal it with resin afterward.
Q: How do you use texture sheets with polymer clay?
A: Press the sheet evenly over conditioned clay, then peel it off carefully. Dusting with cornstarch prevents sticking.
Q: How do you make polymer clay earrings glossy?
A: After sanding, apply a thin layer of resin or gloss varnish and let it cure. It gives that glass-like finish that catches light beautifully.
Inspiration Everywhere
Once you start looking, everything around you becomes a texture tool. The pattern on a sweater. The bark on a tree. A cracked sidewalk.
That’s the real joy of polymer clay — it invites you to slow down and notice the small details most people miss.
If you’re stuck, go outside. Touch things. Look closely. The ideas will find you.
Ready to Fall in Love with Your Next Favorite Pair?
You came here for tips, but let’s be honest — your next favorite pair might already be taking shape in your mind. Bold textures, glossy finishes, silhouettes that don’t play by the rules. Nothing cookie-cutter here.
Take a scroll through the shop, pick your favorite berry, and let the bloom begin.
Quick Recap
- Texture brings depth and realism to polymer clay earrings.
- Everyday tools can create beautiful effects.
- Try layering techniques for extra detail.
- Keep your process playful — the best textures come from curiosity.